BBOTBRUZ
PROJECTS
All projects
Home/Projects/Traffic Light System
BeginnerTrafficAutomationArduino

Traffic Light System

A beginner-friendly intersection controller teaching sequencing, timing, and safe state transitions with LEDs.

HN
CREATED BYhnashah

Hackster maker · Published 2026 · Original project ↗

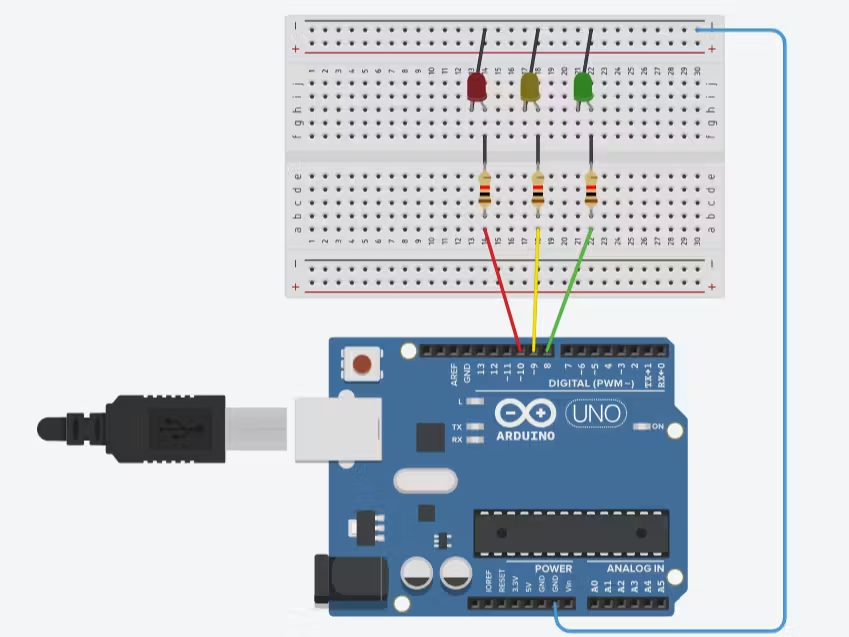
Traffic Light System finished prototypeFINISHED BUILD · HERO SHOT
PROJECT GUIDE

BUILD TIME2–3 hours

TEAMSolo maker

THE IDEA

Why we built it

THE CHALLENGE

Coordinate two traffic directions so conflicting green lights never occur, while keeping the beginner circuit and program easy to inspect and extend.

OUR SOLUTION

Represent the junction as a small state machine with explicit north-south, transition, and east-west phases. Every change passes through amber and an all-red safety interval.

STORY

From sketch to prototype

A delay-only sketch can light LEDs, but it hides the rules that make an intersection safe. Naming each phase turns the project into a clear automation lesson.

After the sequence works, a pedestrian request or vehicle sensor can be added without rewriting the entire program. Inputs request the next safe state instead of directly switching lamps.

“The best version wasn’t the one with the most features—it was the one people understood fastest.”
THINGS USED

Hardware & tools

QTYCOMPONENTROLE IN THE BUILD
1×Arduino UnoTraffic sequence controller
6×Red, amber, green LEDsTwo traffic directions
6×220 Ω resistorsCurrent limiting
1×BreadboardPrototype junction
1×Push buttonPedestrian request

Software

Arduino IDETinkercad CircuitsSerial Monitor
BUILD INSTRUCTIONS

Make it step by step

Build two identical signals

Build two identical signals

Wire red, amber, and green LEDs for each road through resistors. Test every output individually.

Define safe traffic states

Define safe traffic states

Write one function per phase and verify that both directions are never green together. Include an all-red interval.

Add non-blocking timing

Add non-blocking timing

Use millis instead of long delays so a pedestrian button or sensor can be read while the current phase is active.

CODE

The core logic

main.ino
if (millis() - stateStarted >= durations[state]) {
  state = static_cast<State>((state + 1) % STATE_COUNT);
  stateStarted = millis();
  applyLights(state);
}
if (digitalRead(PED_BUTTON) == LOW) pedestrianQueued = true;
View original Hackster project
REFLECTION

What we learned

  • State machines make automation rules visible and testable.
  • An all-red interval creates a safety buffer between directions.
  • Non-blocking timing makes future buttons and sensors easier to add.
WHAT’S NEXT?

Add pedestrian signals, an audible crossing cue, and adaptive timing based on vehicle-presence sensors.

KEEP EXPLORING

More student builds

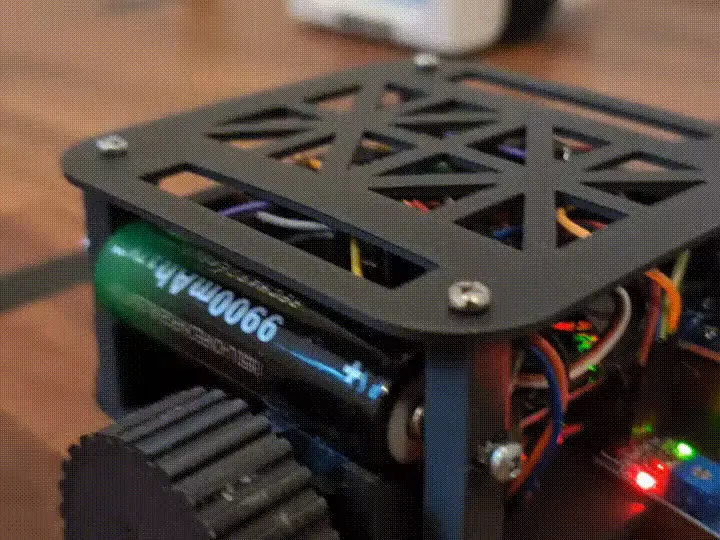
AI Robot from Scratch with Arduino UNO Q project preview Watch preview
Arduino · AI · Robotics

AI Robot from Scratch with Arduino UNO Q

A from-scratch mobile robot connecting Arduino motion control with practical edge-AI behaviours.

View project
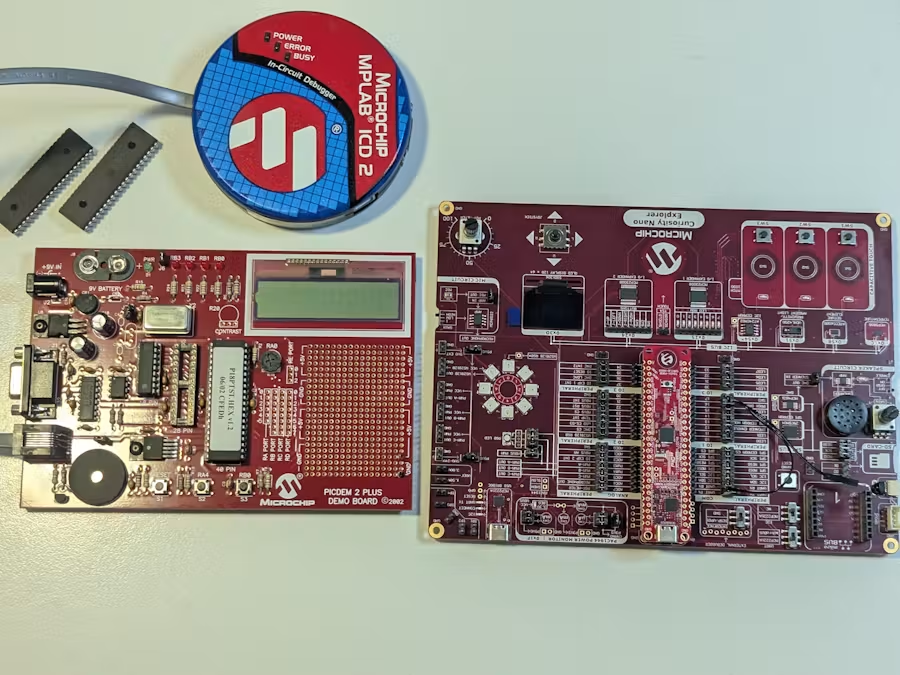
2007 vs 2026: A PIC IR Receiver, Built with AI project preview Watch preview
PIC · Infrared · Retro

2007 vs 2026: A PIC IR Receiver, Built with AI

A modern revisit of a classic PIC infrared receiver using AI assistance to accelerate firmware development.

View project
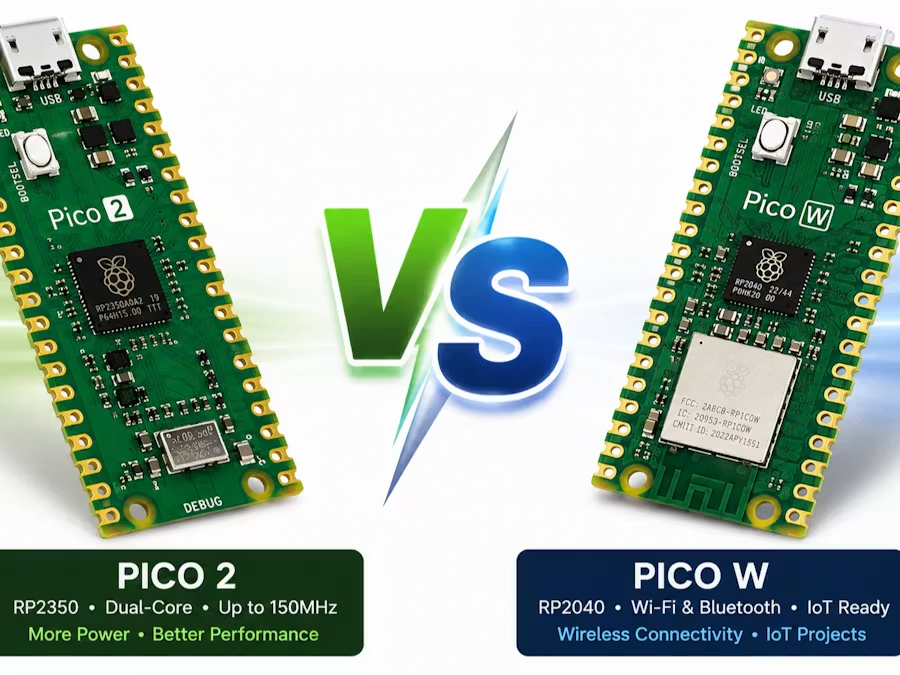
Raspberry Pi Pico 2 vs Pico W Complete Comparison project preview Watch preview
Raspberry Pi · Comparison · Microcontroller

Raspberry Pi Pico 2 vs Pico W Complete Comparison

A practical side-by-side guide to performance, connectivity, power, compatibility, and ideal use cases.

View project
BBOTBRUZ
PROJECTS

Built for curious minds and fearless makers.

Explore all projects